Whether you are into a business or work for an organization, then you need to have binder files to keep a copy of your documents, reports and records. When the number of files increases you need to have labels to identify them quickly. This is where we would like to extend help. Yes, we offer binder spine templates for free. You can quickly download templates of any size to fit your binder and get organized today.
Ok, we understand your concern. Do people at home not require these templates? No, they need as well. You can also arrange all bills and other papers in these binders and thus you require some spine labels.
Without boring you with explanation let us get into the job. We will give you detailed instruction about how to make this binder spine templates using MS word. Also, will let you know the right way to insert these templates after making one. And, guess what? We don’t stop there as we also provide you with more than 20 different varieties of templates for free. You can use the instruction to edit them and insert them in your files.
Here we begin our journey.
Contents
Binder Spine Templates

Steps to Make Microsoft Word Binder Spine Insert Template
- Click File à New and search for Binder and click enter.
- You can find a list of templates from which choose one. Take a look at the preview and then decide to choose one.
- If there is no template found that interest you, then you can search online following the steps are given
- Go to the Microsoft website and select word from its product section. Then you can search the for the Binder templates.You can find several templates listed and choose one to download. Agree to the terms mentioned and you can get the template in your PC.
- Now download to open the template on to your system.
- Double click on that to open and all you need to do is to edit each text box based on your need.
- Finally, click Print option and get a hard copy of the template to get ready to insert them in the binder file.
How to Insert into Binder Spine Insert Template
Three different steps to insert the binder templates in your file. Know these steps and follow them to insert at ease.
Step 1
Once your label is ready you can print and cut them. Make sure you print them on a sturdy paper so that inserting will happen without causing damage to the label. At the same time make sure your printer can handle the thickness. Alternatively, print on a paper and paste another empty paper behind to give that sturdy yet not the hard label.
Now, cut the labels without losing any wordings and it is ready to be inserted. You can also add some design manually after printing and cutting. Even this step can be skipped if you can print them with designs online.
Step 2
Open the binder and turn it inside out. So now you can insert the label from inside. You must place it vertically and then insert the label.
Depending on the rigidity of the file turn it as it may break when you force and turn it inside out.
Add your own subtopics
With the help of a thin plastic ruler slightly create a space between the binder and the plastic to make it possible to slide the label inside. Do not send the scale deep inside as it may cause damage to the plastic.
Step 3
In case there is a label present already inside and you want to remove and replace with a new one, then follow this step. Reverse the binder and check if the label falls down on its own. This will happen if the label is loosely placed or there is free space in the plastic. Alternatively, use a scale to create some air space and now check if the label falls. Finally, you can use your fingers to pull them after creating space with scale. Caution advised here to prevent tearing of the plastic.
At the same time of removal, you can insert the new spine label if ready. This can prevent another attempt and hence improve the life of the plastic and the binder sides.
After knowing both the procedures of making and inserting spine templates, you must know the several types available in the market. We have also taken efforts to explain to you the use of each template and this uses them for free in the appropriate binder.
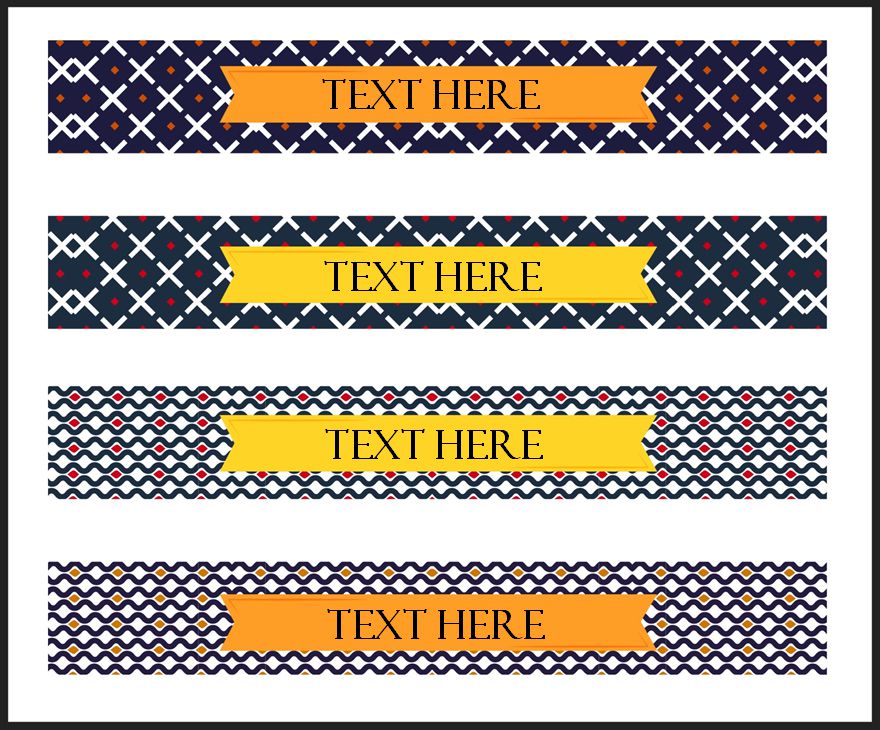
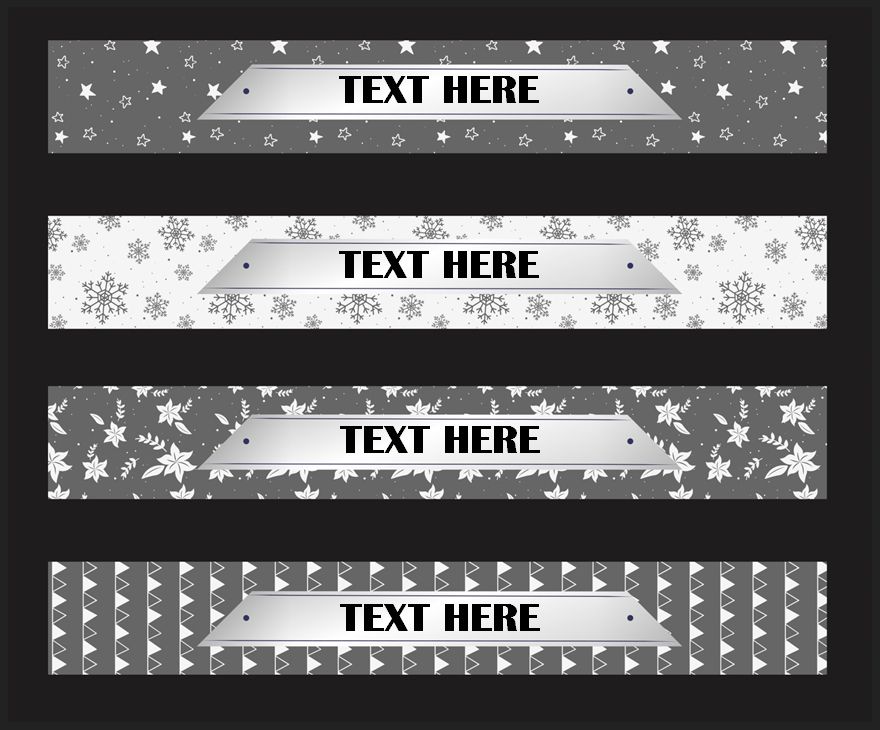
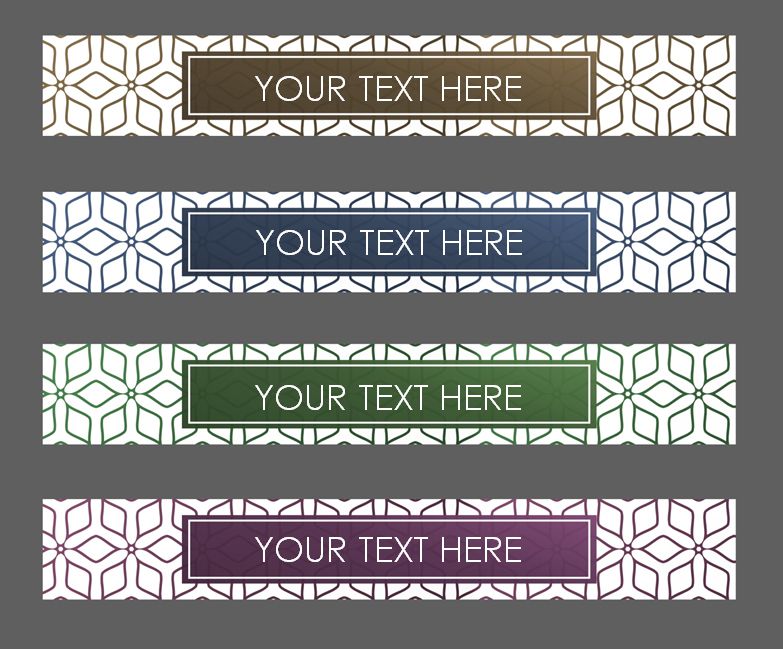
Types of Binder Spine Templates
Notebook Spine Label Template
This is a 12 Inch binder spine label which can suit your notebook binders. This has space to fill the details about the Title and the Date. Go ahead to print it to use it for all your notebooks. The bigger sized labels can be used a typical notebook labels printing your name, subject, school and class.
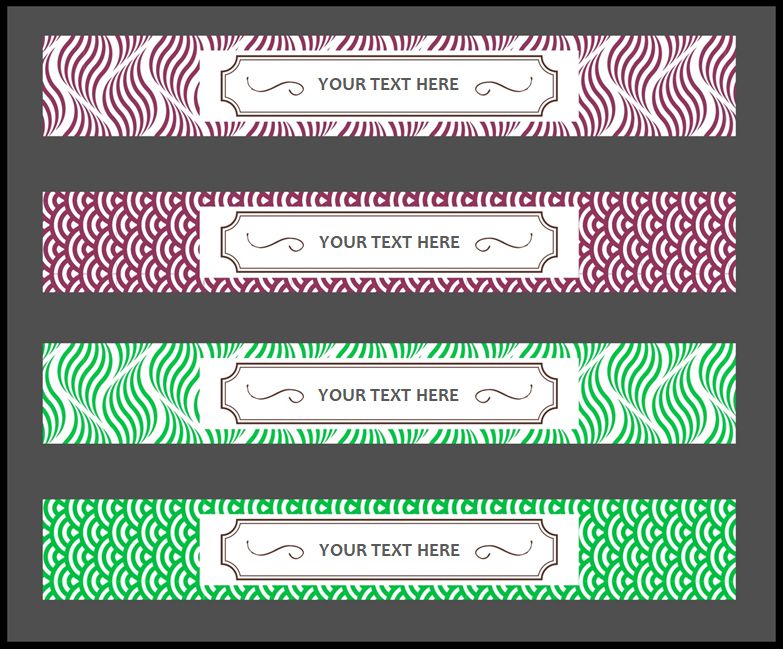
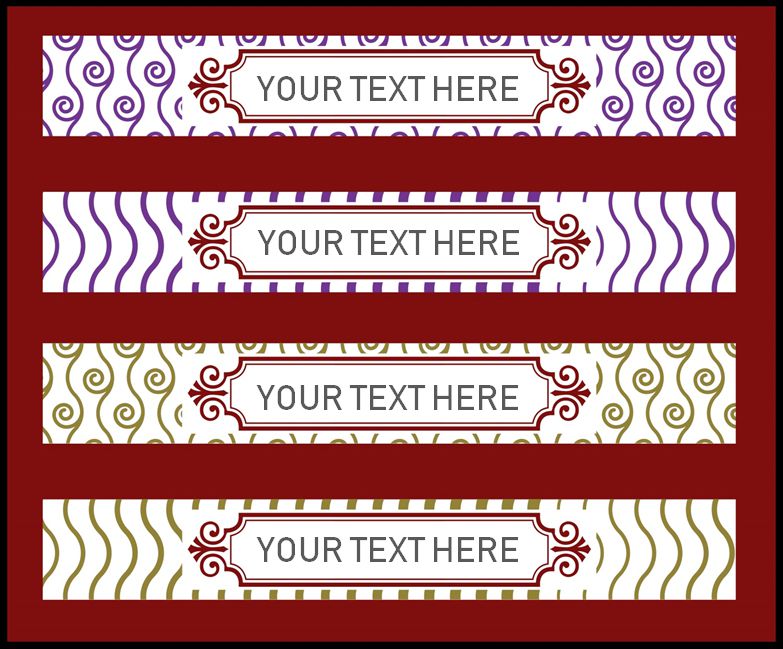
Binder Label Template
These templates are available for you to print vertically or horizontally. There are 4 or 6 numbers possible to be printed vertically. Also horizontally you can print up to 8 labels.
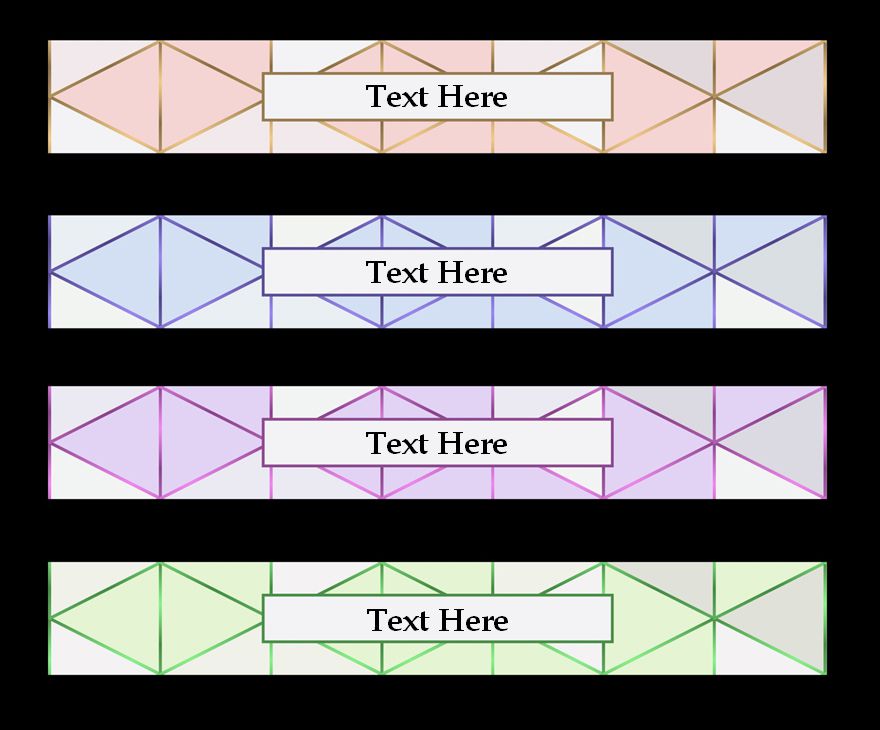
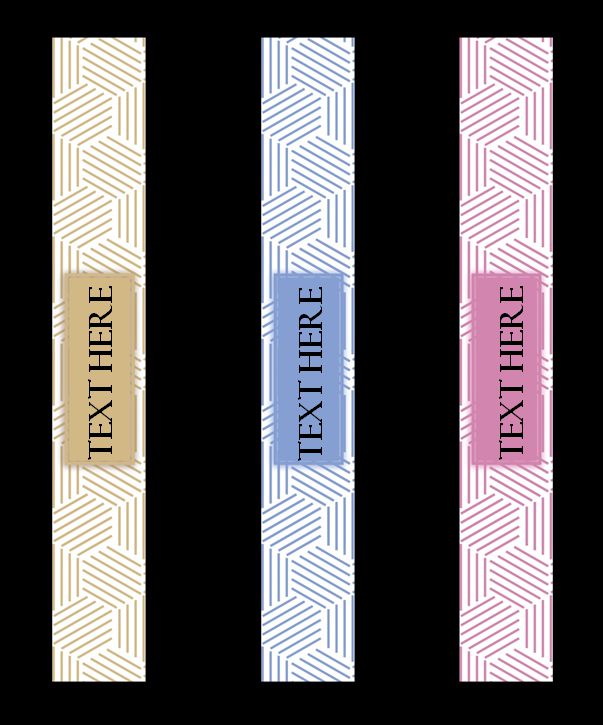
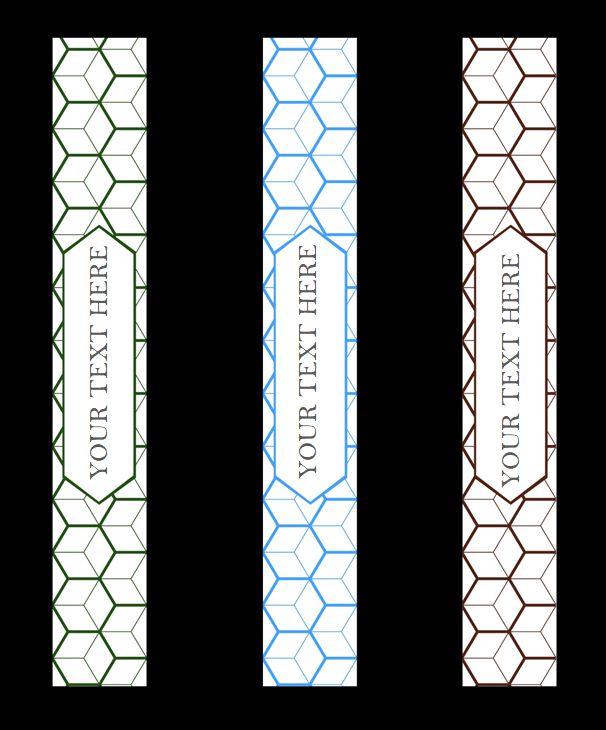
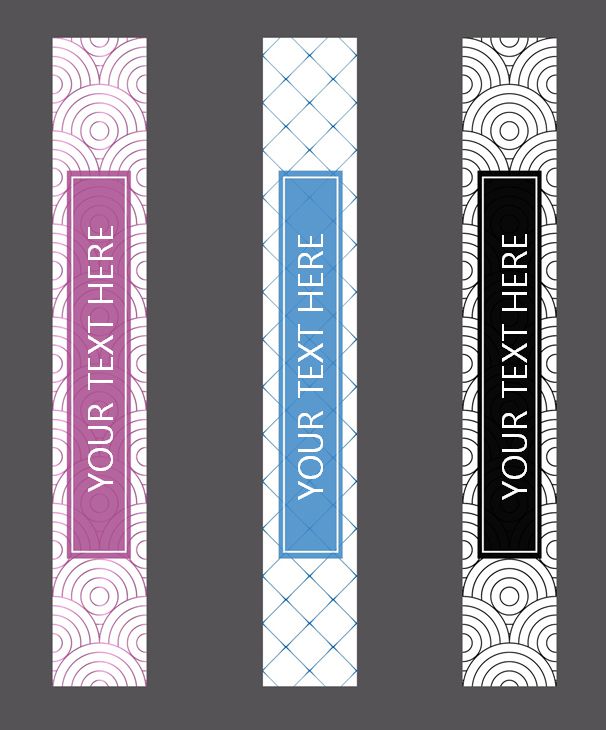
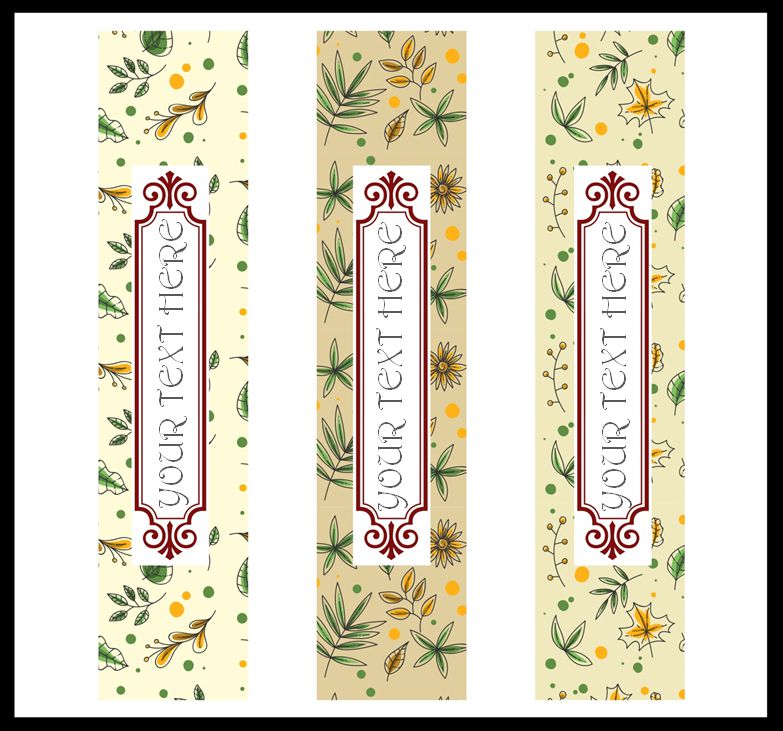
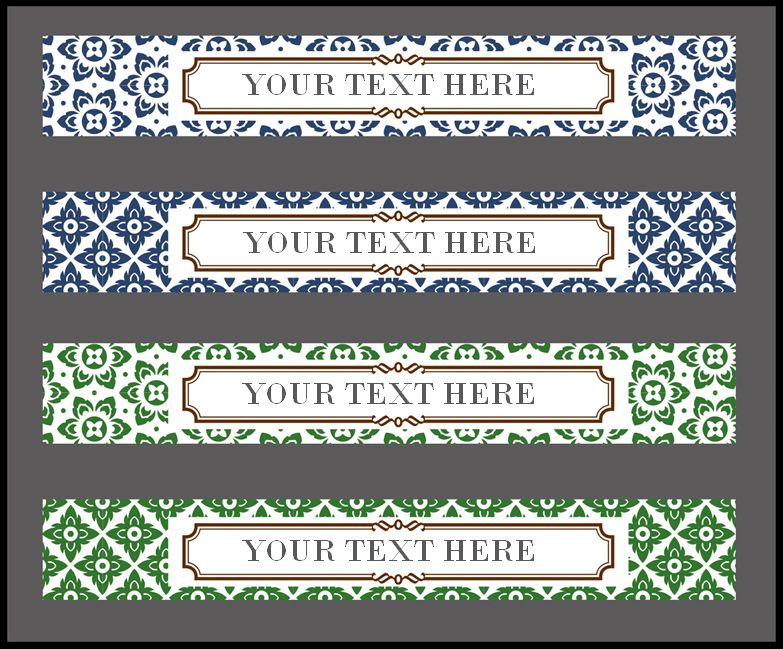
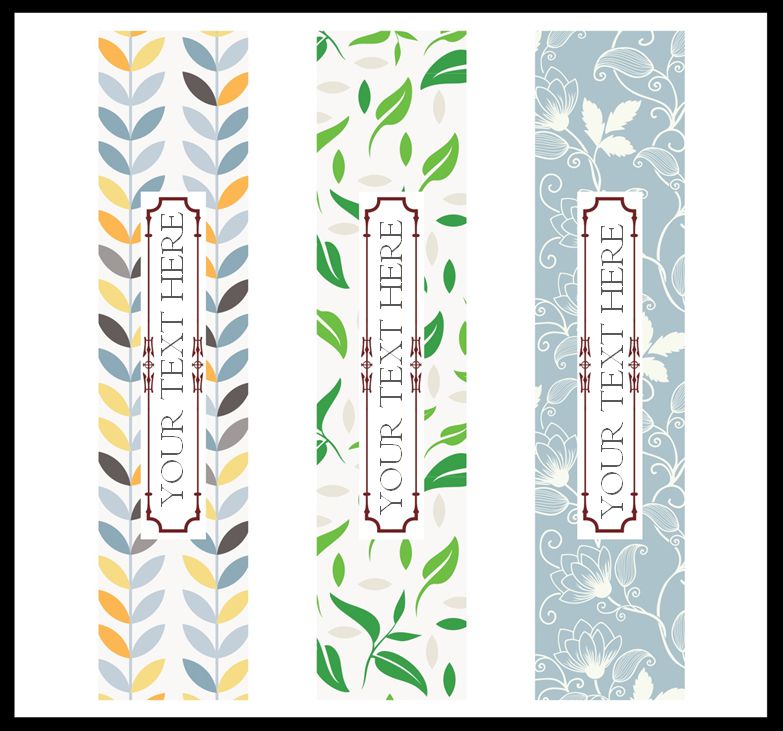
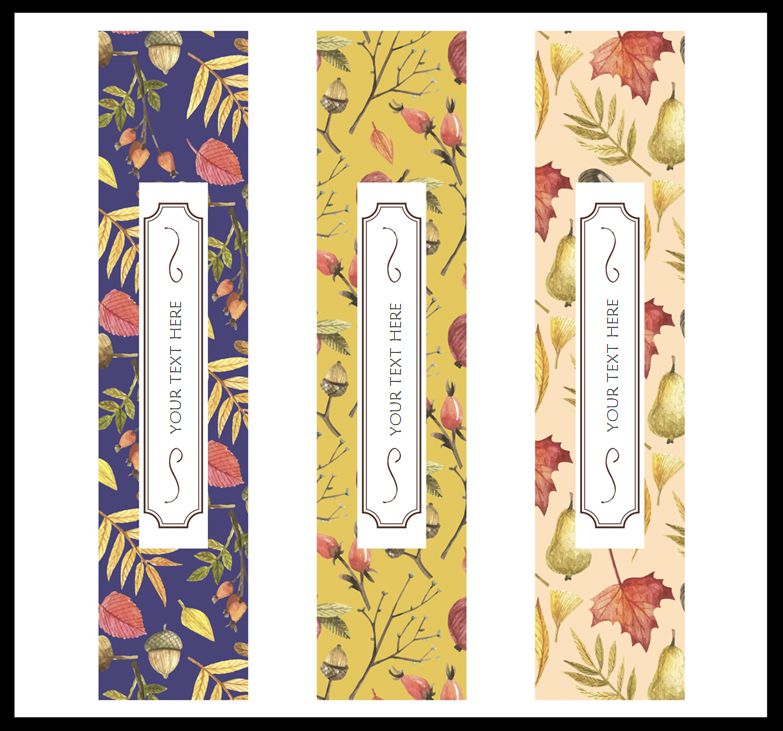
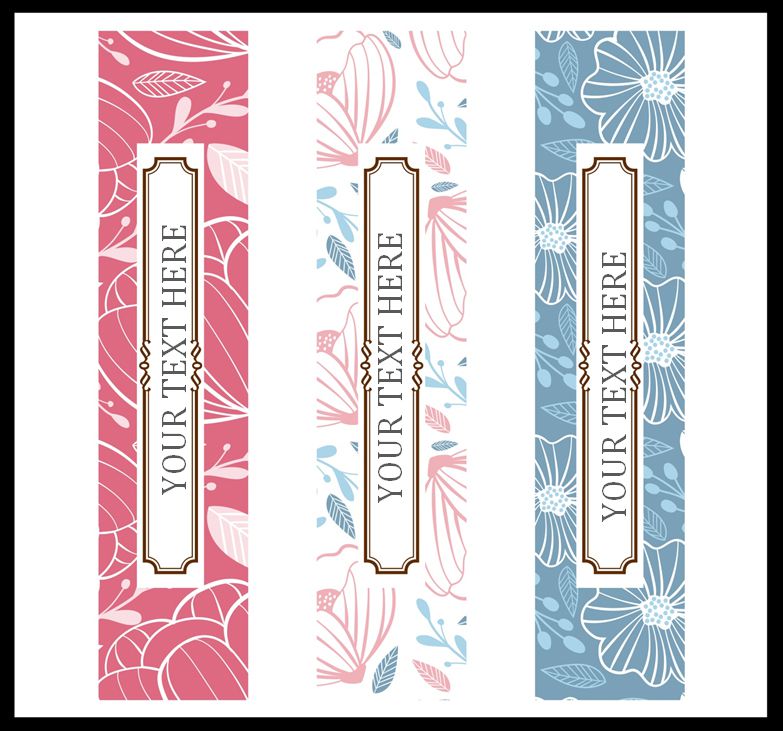
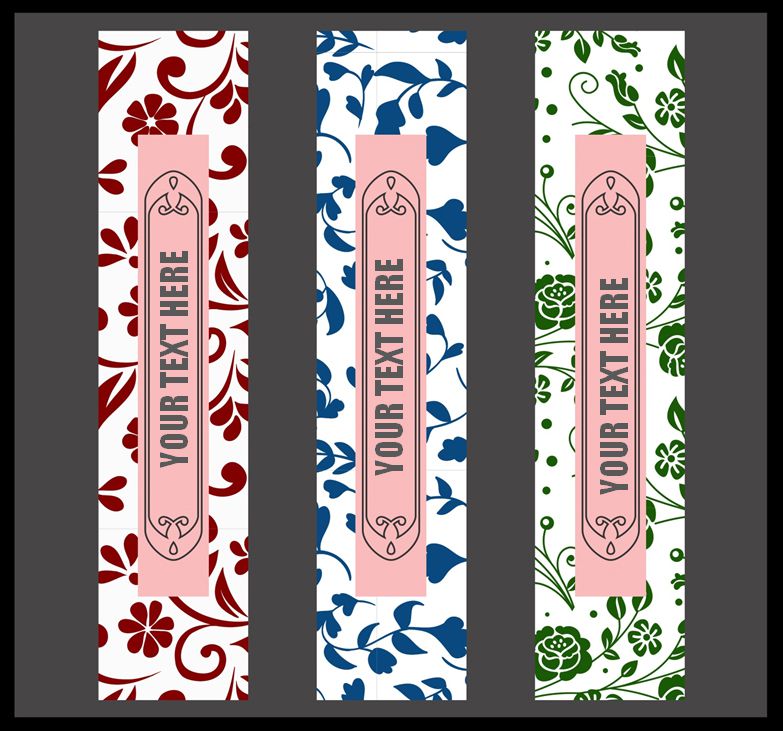
Binder Spine Template Vertical Text
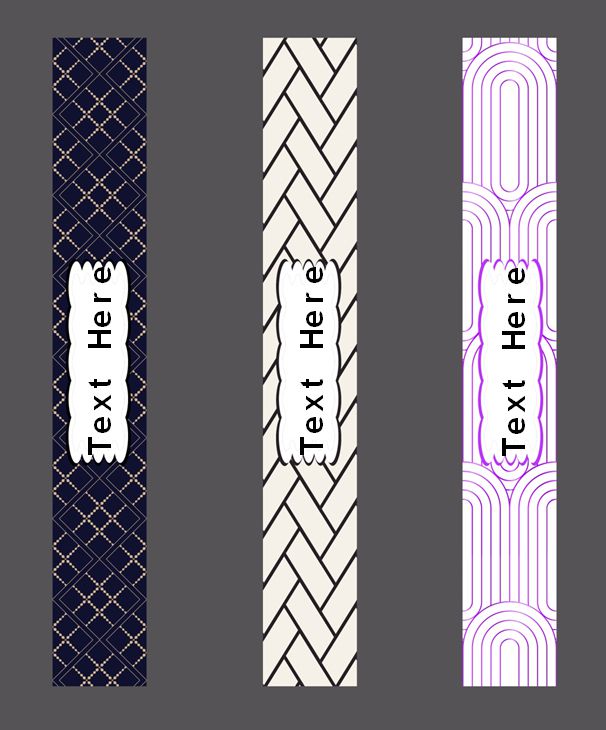
As the name implies these templates have space to fill the text vertically. Here you will enter each alphabet one below the other in the vertical format. This template is available for print in different colors. You can choose to print them in one sheet and you get 6 labels.
Lever Arch Binder Spine Template
Binders that have the arch model and that can hold more papers. Spine template to suit these binders should remember that these binders have straight sides. Depending on the cover of the binders hard or soft you can choose the label templates.
Bantex Binder Spine Template
Bantex is best-known products for binders, papers, and files. The collection of binder spine for Bantex products is available. Bantex binders come in different size including the size A5, A4 70 mm, and binders with 2 rings and clamps. For all the mentioned Bantex products you can find templates here to download for free.
Staples Better Binder Spine Template

Staples better binder spine template is presented in two sizes namely 1.5 inch D 3 Ring, and 3 inch D 3 Ring. These binders can accommodate papers more compared to others as they are 1.5 and 3 inches wide. Staples products are known for reliability. Use the label templates that best fit any staple binder spines.
Free Binder Spine Cover Templates
Now let us look at the binder spine covers. You can use these to completely cover your binder spine and also use them as a label to fill the details about the binder. These are substitutes to labels and available as full cover. All you need to do is print it on the stretchable cover so that you can use them on any binders.
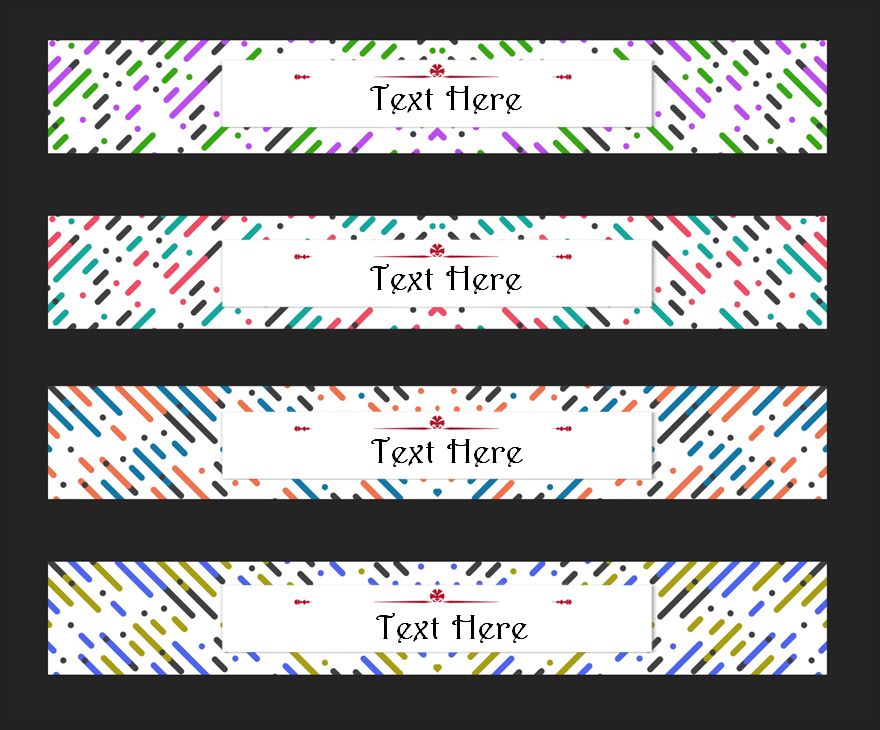
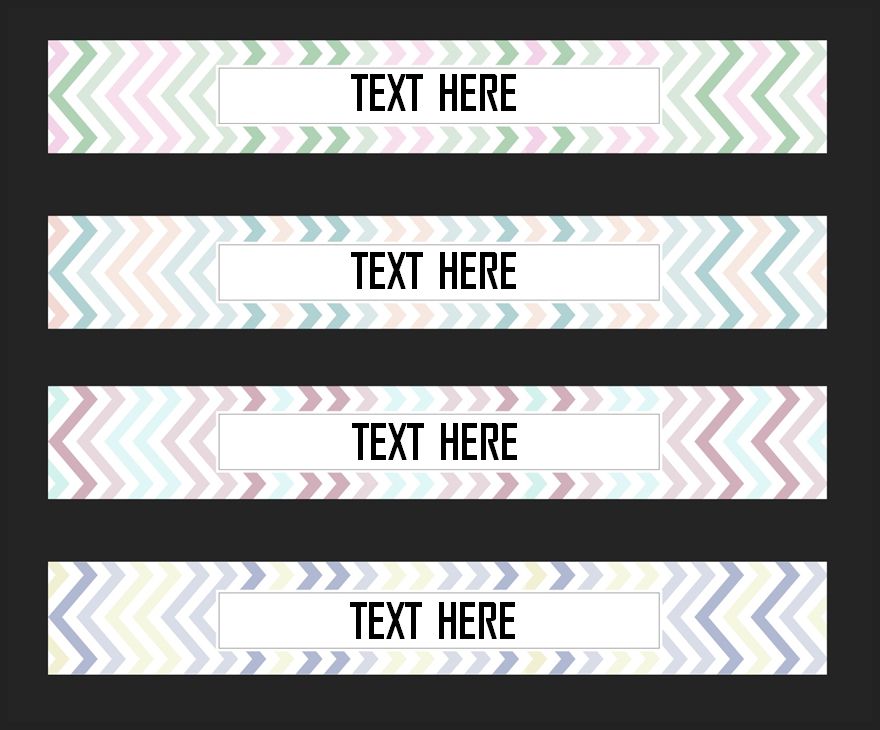
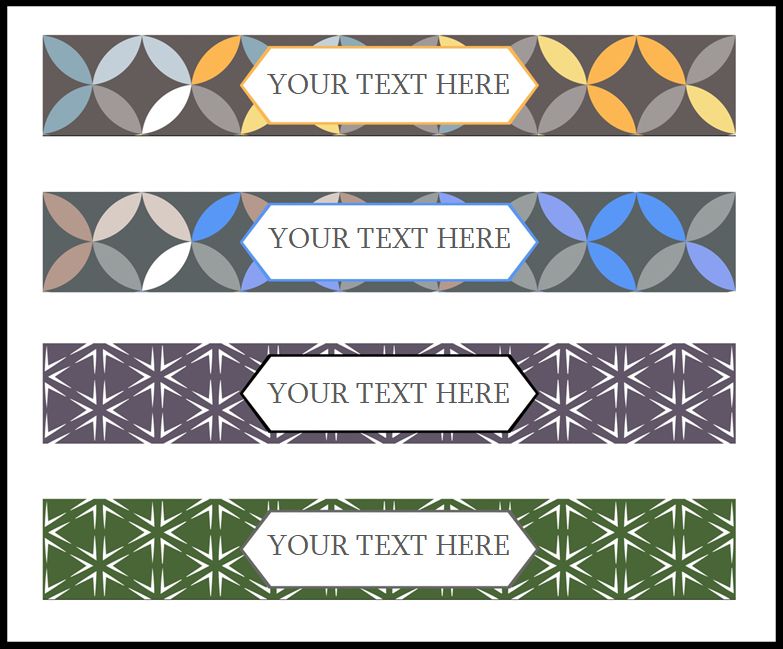
Chevron Binder Spine Template
Chevron binder spine covers come in 40 different colors. We have selected a few vibrant colors and offer them for free. You can use this for school book covers and for office files as well.
Clearvue Binder Spine Template
Company manuals and Clearvue Binders are born together. They go hand in hand with the address directories. Find this template that 8.5″ x 5.5″ measuring in size used with 3 ring metal and 1″ capacity.
Cardinal Binder Spine Template
Cardinals are the professional and best binder spines. They come in 3 sizes including the 1.5 inches, 2 inches and 3 inches. You can use them to fill the document details in an elaborate manner rather than the title only. It helps to sort out binders quickly due to detailed labels.
Horizontal Binder Spine Template
Benefits of using horizontal binder spine include the following. You can read them easily and possible to use handwritten and printed format. It is also possible to write more information and hence sorting out will be easy. You can print a number of binder labels on one sheet based on the size of the binder where it will be used.
Wilson Jones 1 Binder Spine Template
As early as 1893 Wilson Jones invented 3 ring binders. Since then they are in business and in 2013 they reinvented their binders. These binders are eco-friendly and become durable for people to use for multiple purposes. You can find the templates for Wilson Jones Binder and print them to use the Wilson product with pride.
Three Ring Binder Spine Label Template
The tree ring binders usually have a bulky look and can accommodate more papers. They can become thick based on the number of papers inserted and having three rings allow it to be sturdy. Find the templates available for your perusal in different colors and size.
Marbig Binder Spine Template
The A5 size labels from Marbig are suitable for addressing. They can be printed on self-adhesive sheets and easy to cut and paste on the binders. Find templates for the following Marbig binders.
- Storage pockets
- Slim view binder
- 2D Ring Binder PE Hi-Lites
- A4 Soft Touch 25mm Ring Binder
- Enviro Deluxe Binders
- Zipper Binder
- Display book
- Pencil case
Notebook Binder Spine Template

Avery is a pioneer in notebook binders. The templates given here suits all Avery binders and you can print them to use for all Avery products.
Ring Binder Spine Template
There are three different types of ring binders templates as given below
- 3 Ring Binder Spine Template
- 2 Ring Binder Spine Template
- 4 Ring Binder Spine Template
You can use all of them for free. But, before that understand the benefits of using ring binders.
It comes in different colors, size and material that helps you to keep your work in an organized manner. You can use them in school, at the office, and home. Ring model will keep the papers intact and you can easily view them without damaging the documents.
Where all you can use them?
At home to file your recipes. Bills that you want to preserve for future reference. Stamp collection, postcard collection etc. This will be safe for several years and the binder cover can be chosen to be hard or soft based on the longevity you look for.
In office use it to file the reports, documents, records, and every piece of information you prefer to store for referring at a later date.
Children can use these binder spines to file their project work, assignment papers, and study materials. They can even copy their entire book and file them for studies. Some books that cost more can be copied to study in a cost-effective manner.
1 Inch Vertical Binder Spine Template
The one-inch vertical binder spine templates can be used to place in thinner files. Binder spine templates can help you to refer the files in an orderly manner. These are also available in the next size namely the 1.5 Inch Vertical Binder Spine Template.
Tips to Use the Binder Spine Templates
Whether you are planning to make your own binder spine or use the templates available remember to print them on a proper paper. They must be neither too hard nor too soft. As soft papers will get turned and hard one will damage the plastic at the time of inserting. You must exercise caution in choosing the right paper and desired thickness.
Next to be careful when printing the title or any details on the template as you must use a legible font and font size. If it is in vertical text, then use dark color fonts so that reading will be easy. Do not make spelling mistakes. Possibly give a reference number and that will help you identify the document easily. For horizontal text, you can choose your color and number may or may not be required as you can identify them at ease.
Cut them carefully after printing and do not use templates that have a number of labels as they may not look after cutting. The ideal should be no more than 6 in one sheet. This will give rooms for you to cut without losing the content. Keep some space to trim them in case if it does not fit in the plastic cover.
Further reading:
https://www.techwalla.com/articles/how-to-create-binder-inserts-in-microsoft-word